What is Entity and how can create , Delete, Update it?
An entity is used to model and manage business data in CRM. Contacts, Cases, Accounts, Leads, Opportunities, Activities, etc. are all entities which hold data records. Conceptually, a CRM entity is equivalent to a database table. For example, Contacts entity would hold Contact records, Cases entity would hold Cases records, and so on.
You can have both: out-of-the-box entities (which comes by default with the CRM) and custom entities (which you can create with customization). For instance, suppose that you are maintaining the data of the books your customers have read. For this, you will be storing the customer data using out-of-the-box Contacts entity but where would you store the books data? You do not have any entity that can store data for books. In such scenarios, you will create a new custom entity named Books and relate this with the existing Contacts entity.
For this tutorial, let us take an example of storing employers and employees in CRM. Taking this example into consideration, out-of-the-box, CRM provides Contact entity in which you can ideally store all your employees. It also provides an Account entity in which you can store all your employers. But for the sake of learning entities, we will create a new custom entity called Employer (and not use the existing Account entity).
Creating a New Entity
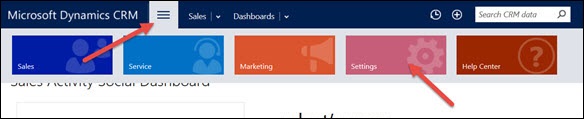
Step 1 − Click the top ribbon button followed by Settings option. Click Customizations option from the Customization section (Refer the following screenshot).
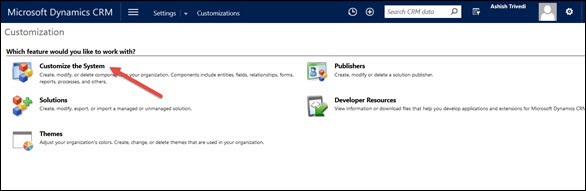
Step 2 − Now click Customize the System option.
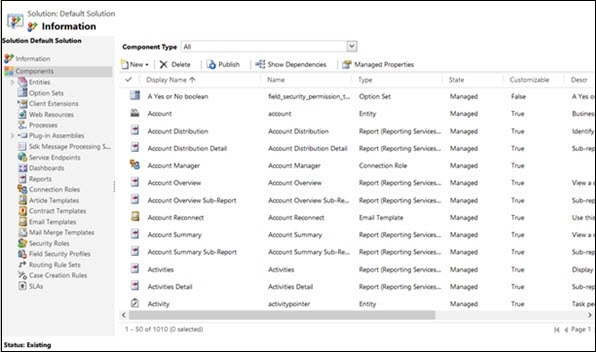
This will open up the Default Solution window. You will learn more about CRM Solutions in the next chapters but for now you will be using the default CRM Solution.
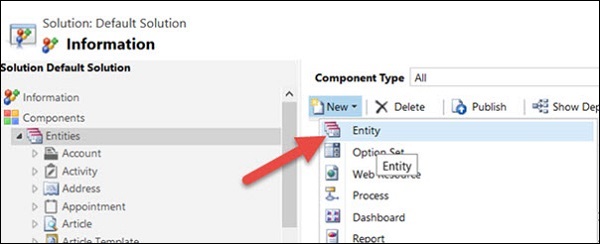
Step 3 − Expand the Entities option from the left panel.
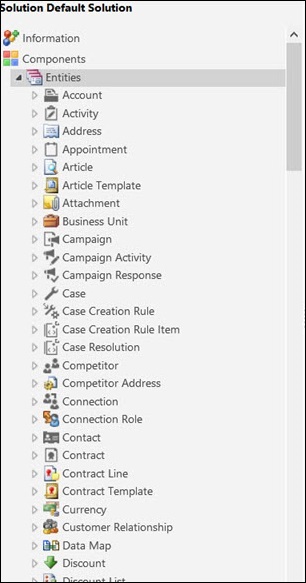
Step 4 − Now click New → Entity.
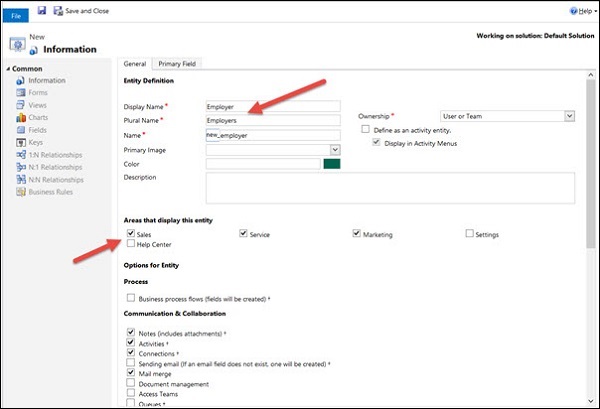
Step 5 − In the Entity Form, enter the Display Name as Employer and PluralName as Employers. In the section ‘Areas that display this entity’, check Sales, Service and Marketing. Checking these options will display the newly created entity in Sales, Service, and Marketing tabs of CRM.
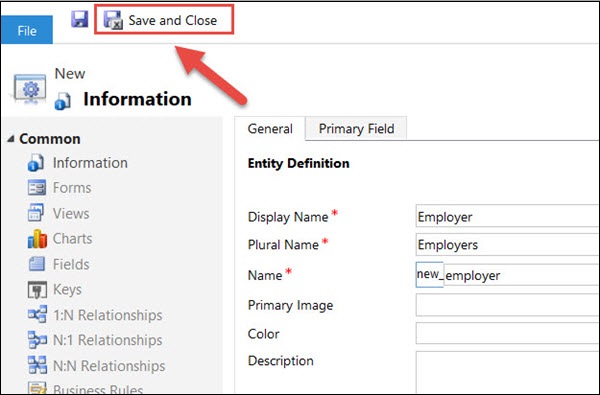
Step 6 − Click on the Save and Close icon. This will create a new entity in CRM database behind the scenes.
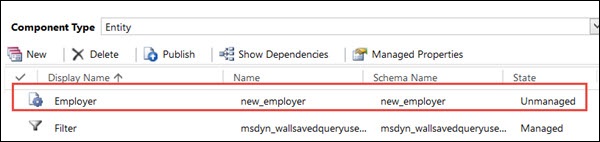
Step 7 − In the Default Solution parent window, you will see the newly created Employer entity.
Step 8 − Click Publish All Customizations option from the top ribbon bar. This will publish (aka commit) all the changes we did till now. You can close this window by clicking Save and Close.

Creating Records
CRM is all about managing valuable data in your system. In this section, we will learn how to create, open, read, and delete records in CRM. We will continue with the employer entity that we created in the last chapter.
Step 1 − Navigate to Employer entity records grid via Show work areas → Sales → Extensions → Employers.
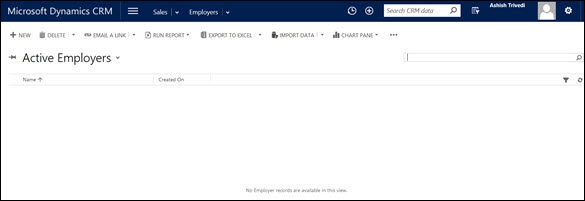
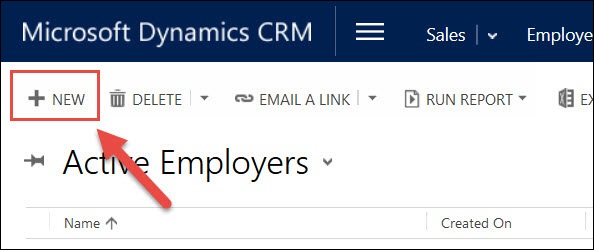
Step 2 − Click the New icon.
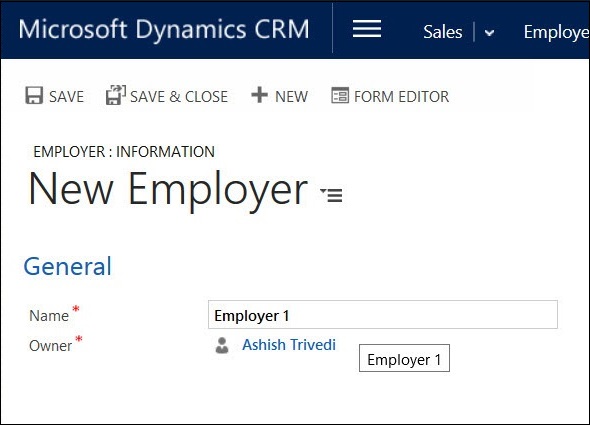
This will open the default new employer form. You can see that there is only one editable field Name in this default form. Enter Employer 1 in the Name field. Click Save and Close.
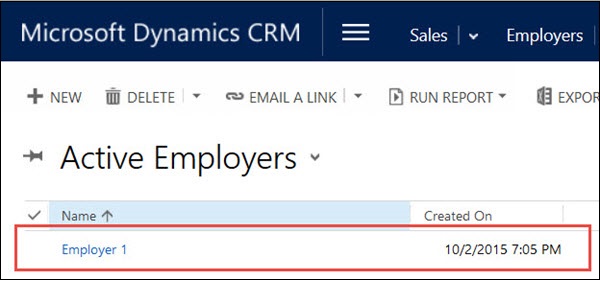
Step 3 − In the Active Employers view, you can see the newly created employer record.
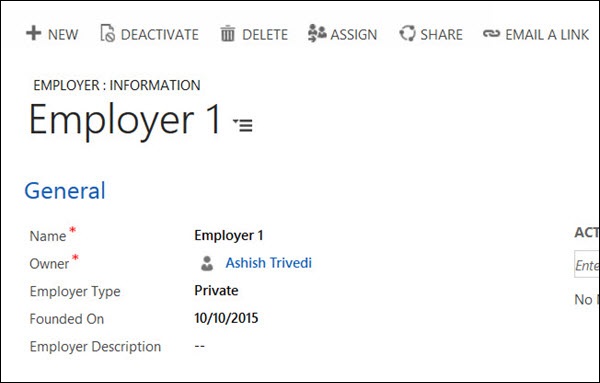
Accessing Records
To access the already created records in CRM, go to that entity page. In our case, navigate to Show work areas → Sales → Extensions → Employers. You will see list of records present there in the grid. Click any Employer record to access it.
Updating Records
Once you have a record open, you can just edit any details on the form. By default, CRM 2015 comes with auto-save option which saves any changes made to the form 30 seconds after the change. Alternatively, you can click Ctrl+S.
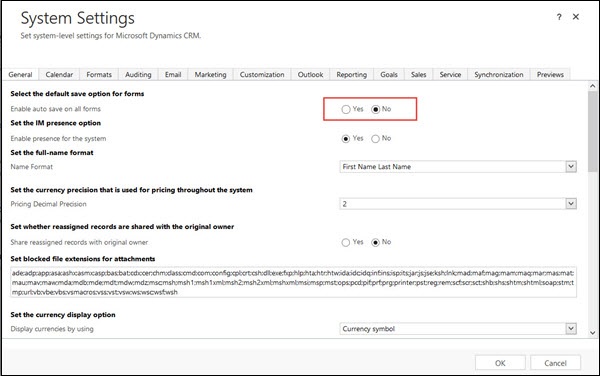
In case you want to disable the auto-save feature, go to Settings → Administration → System Settings → Enable auto-save for all forms and select No.
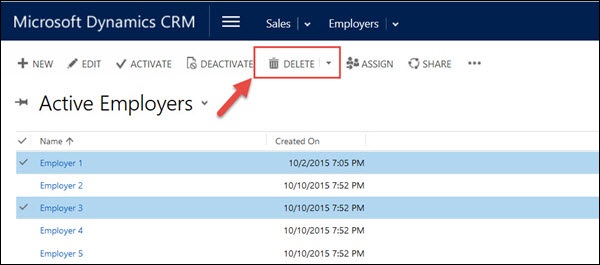
Deleting Records
Step 1 − Select one or multiple records which you want to delete and click the Delete button.
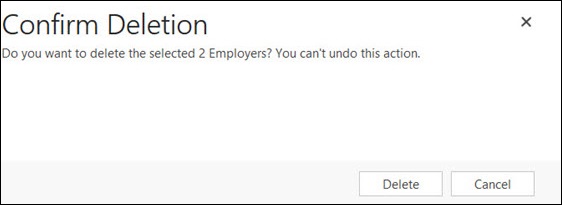
Step 2 − Confirm the deletion of records by clicking Delete.

Comments
Post a Comment